Generate midjourney ai images for free and unlimited
Written by Devanshu Agarwal /
Creating eye-catching, photorealistic images can be both time-consuming and expensive. But what if we told you there's a way to generate stunning AI images for free, using the power of Google Colab and the RMADA Merge model? In this in-depth guide, we'll walk you through the process, step by step, so you can create your own high-quality AI images without breaking the bank. Let's dive in!
Step 1: Download the Google Colab File
Google Colab is a free, cloud-based platform that allows you to run and execute Python code in an interactive, shareable environment. To start, download the Google Colab file from the following link:
This file contains the necessary code to set up the environment and run the AI image generation process.
Step 2: RMADA Merge Model
The RMADA Merge model is an advanced AI model that generates highly realistic images, perfect for a variety of applications.
This model will be used within the Google Colab environment to create stunning visuals based on your input.
Step 3: Open Google Colab and Upload the IPYNB File
After downloading the Google Colab file, head to Google Colab and sign in with your Google account. Click on "File" > "Upload notebook" and select the IPYNB file you downloaded in Step 1.
Step 4: Replace Lines 15-16
In the IPYNB file, locate lines 15-16 and replace them with the following code:
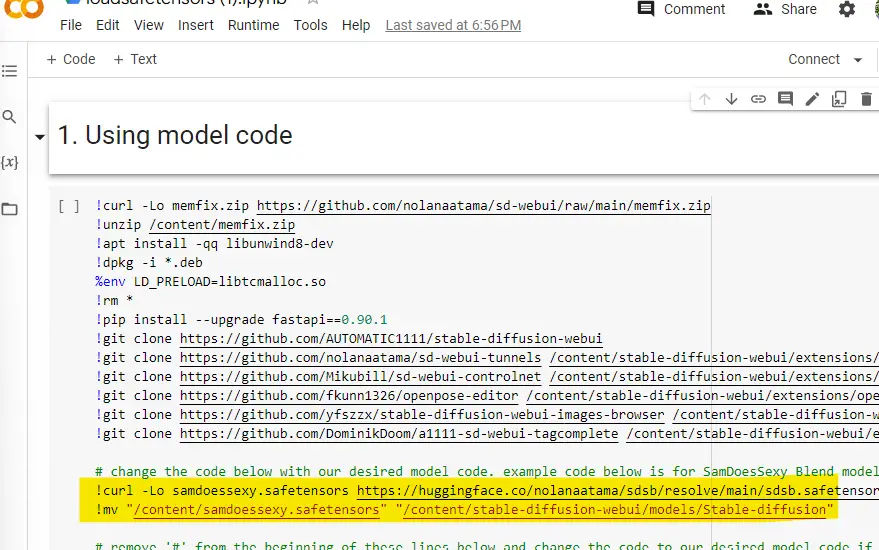
!curl -Lo rmada.safetensors https://civitai.com/api/download/models/33340?type=Model&format=SafeTensor
!mv "/content/rmada.safetensors" "/content/stable-diffusion-webui/models/Stable-diffusion"
This code ensures that you're using the RMADA Merge model for image generation instead of the original model specified in the file.
Run the Colab Notebook
With the necessary changes made, click on Run/Play to execute the entire Colab Notebook. The code will automatically download and set up all required dependencies, including the RMADA Merge model.
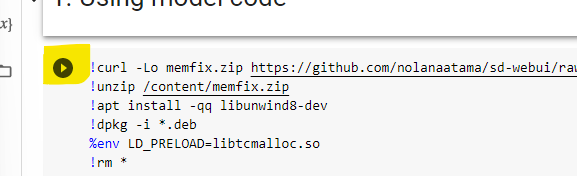
Note: This step will take sometime to complete
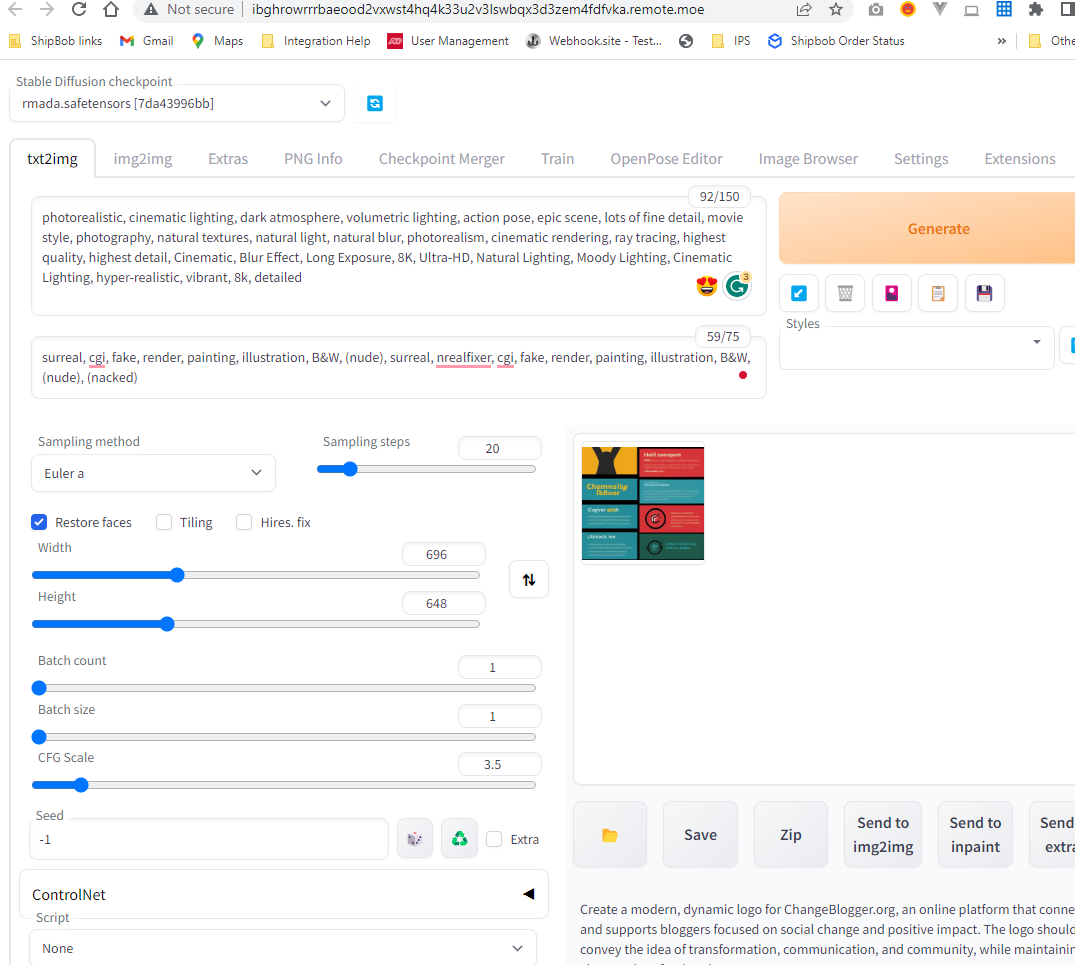
Step 6: Access the Dashboard
Once the code execution is complete, you'll receive a URL at the end of the process. Click on this URL to open the AI image generation dashboard, where you'll be able to control various settings and input your desired prompts.
Step 7: Enter the Recommended Prompt
The recommended prompt serves as a guideline for the AI to create images with specific characteristics. In the prompt field, enter the following:
photorealistic, cinematic lighting, dark atmosphere, volumetric lighting, action pose, epic scene, lots of fine detail, movie style, photography, natural textures, natural light, natural blur, photorealism, cinematic rendering, ray tracing, highest quality, highest detail, Cinematic, Blur Effect, Long Exposure, 8K, Ultra-HD, Natural Lighting, Moody Lighting, Cinematic Lighting, hyper-realistic, vibrant, 8k, detailed
These keywords will guide the AI in generating images that possess the desired attributes, resulting in high-quality, visually stunning outputs.
Step 8: Enter the Negative Prompt
The negative prompt helps the AI understand what you don't want in the generated images. In the negative prompt field, enter:
surreal, cgi, fake, render, painting, illustration, B&W, (nude), surreal, nrealfixer, cgi, fake, render, painting, illustration, B&W, (nude), (nacked)
By providing a negative prompt, the AI will avoid generating images with these characteristics, ensuring that the final result aligns with your vision.
Step 9: Keep the Default Settings
The default settings are optimized for generating high-quality images. If you're new to the process, we recommend keeping these settings. However, if you'd like to learn more about the various options and how they can impact your generated images, you can find informative YouTube videos and tutorials online.
Step 10: Generate Images
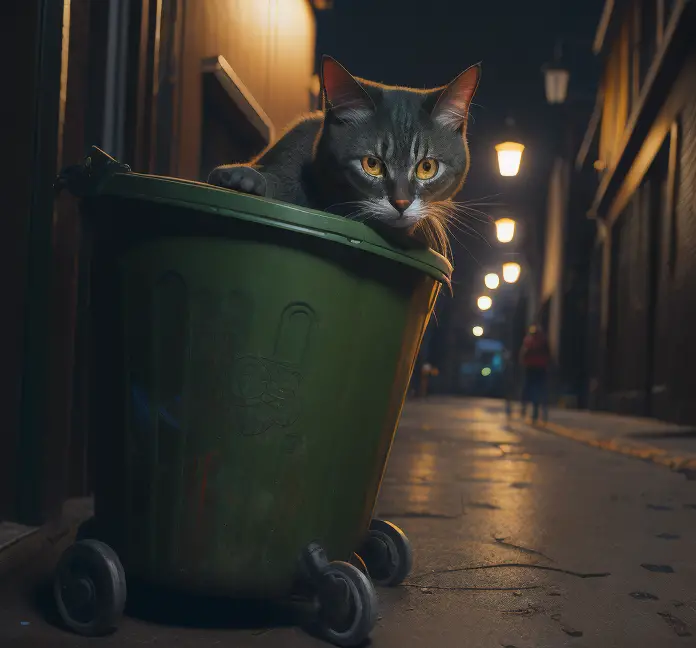
Finally, it's time to generate your images! At the end of the prompt, add the text describing the image you want to create. For example:
a cat eating from the trash in Chicago
After entering your desired text, the AI will generate a unique, photorealistic image based on your input. You can use these images for various purposes, such as blog posts, social media, presentations, and more.
By following these steps, you can easily create stunning AI-generated images using Google Colab and the RMADA Merge model—all for free! The combination of Google Colab's user-friendly environment and RMADA Merge's advanced capabilities makes the process accessible to everyone, regardless of their technical background.
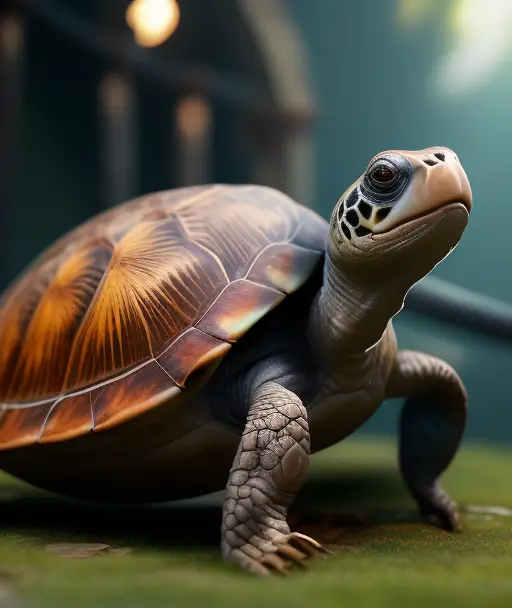
Here are some images that this generated
Now it's time to get creative and start generating your own amazing images! Don't forget to share this blog post with friends and colleagues who might also be interested in creating AI images for free. If you have any questions or need further assistance, feel free to leave a mail or reach out to us at contact@changeblogger.org we're always here to help. Happy image generating!